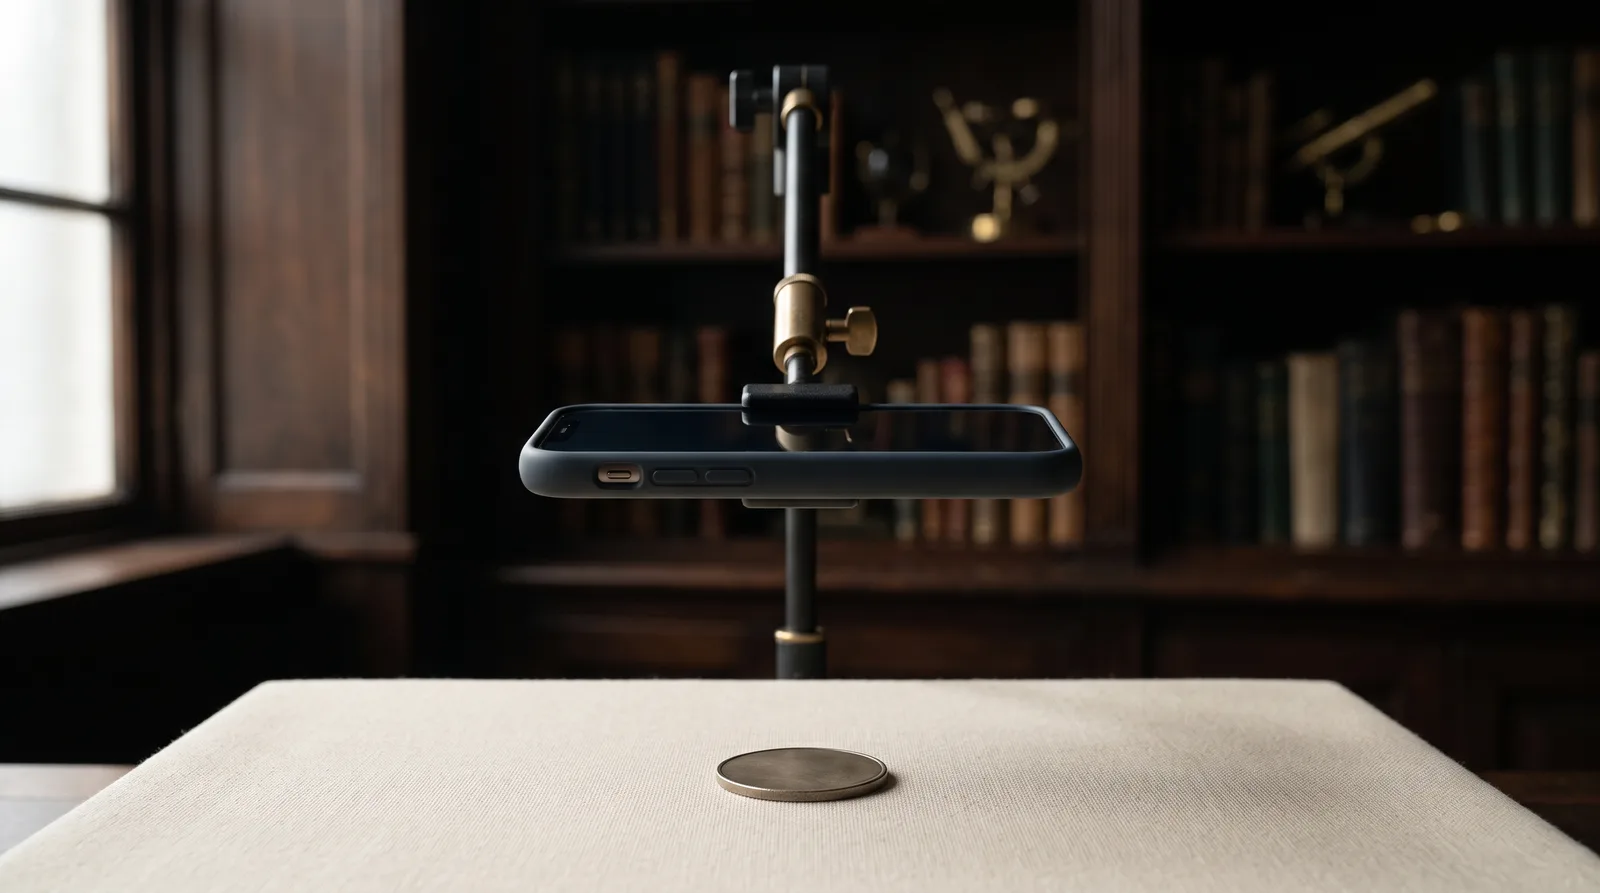
A useful identification photograph shows the whole coin, readable detail and enough context to tell where a feature sits. Make one photograph of each side before taking close views. Improve the light and focus before trying to improve the coin itself.
The setup below is an editorial photography method. It is designed to make visible evidence easier to compare, not to authenticate an object or assign a grade. Even a sharp photograph can leave important questions unresolved.
Prepare the surface and keep the coin safe
Work over a clean, soft surface where a dropped coin will not land directly on a hard table. Handle a coin by its edges when practical, rather than pressing fingers against its faces. The U.S. Mint recommends holding coins by the edges. The Royal Canadian Mint recommends edge handling over a soft surface and advises inexperienced collectors to avoid cleaning. U.S. Mint: Caring for Your Coin Collection, Royal Canadian Mint: Coin Care
Keep food, drinks, abrasive cloths and household cleaners away from the setup. Do not polish a surface, rub a mark or remove a coin from an existing sealed holder just to make a more attractive photograph. If the holder creates glare, document the coin in its holder and say that glare limits the view. Our care guide explains what to record before reorganizing a collection.
Choose a plain background that contrasts with the coin. A matte surface makes it easier to distinguish the rim from its surroundings. Avoid patterned fabric, shiny foil and a hand filling the background.
Photograph the whole side first
Position the camera above the coin so the face is close to parallel with the image plane. Keep the entire rim visible and leave a small border around it. A clipped inscription or cropped rim removes clues that a reference comparison may need.
Tap to focus on the coin if your phone offers that control. Check the saved image at a larger size: can you read the clearest inscription, see where small marks sit and distinguish the outer border? If not, retake it before moving the coin.
Brace the phone or use a stable support. A timer can help if touching the shutter moves the camera. These are practical options, not a required equipment list. A careful phone image can be more useful for this purpose than a complicated setup that leaves the rim outside the frame.
Name the saved photograph “Side A” or “front” in your working notes. Then turn the coin carefully and repeat for the other side. Keep the pair together so neither side is accidentally attributed to a different coin.
Make a readable record without treatment
- Soft side light across a flat coin
- Camera parallel above the coin
- Coin resting on a clean, soft surface
- Complete rim kept inside the frame
Keep the full outline visible.
Keep the pair in one record.
Schematic camera advice is editorial synthesis; care and two-face documentation sourced. Evidence: Royal Canadian Mint: Coin Care; Canadian Conservation Institute: Basic Care of Coins, Medals and Medallic Art, Note 9/4.
Move the light when glare hides detail
Direct reflections can cover lettering or flatten relief. Try a softer light source and move it to a different angle. A second image from a different lighting direction can reveal a feature that was hidden in the first. Keep both views when each contributes information.
Do not digitally paint over glare or sharpen an uncertain letter until it looks definite. Editing can make a photograph look cleaner while changing the clue you are trying to investigate. Preserve the original file. If you adjust brightness or crop a copy, identify it as an edited view and keep the full original beside it.
There is no single lighting angle that proves authenticity or grade. The goal here is narrower: readable inscriptions, a complete outline and enough visible detail to guide a reference search.
Add close views without losing context
Once you have both whole sides, add a closer image of a difficult inscription or small mark. Include nearby lettering or design so the feature’s position remains clear. Photograph a small mark in the context of the coin, not as an isolated letter.
Edge images can be useful when a reference places information there. For U.S. American Innovation $1 coins, the U.S. Mint describes the year and mint mark as part of the edge inscriptions. That example is specific to the named U.S. program. U.S. Mint: American Innovation $1 Coins
If taking an edge image would require an unsafe grip, leave it unresolved and record that the edge has not been photographed. Do not trade the coin’s safety for a difficult extra view.
Make a quick check before uploading
| Check | Why it helps |
|---|---|
| Both sides belong to the same coin | Keeps the evidence record coherent |
| The whole rim is visible | Preserves lettering, border and shape clues |
| The camera focused on the coin | Prevents background sharpness hiding coin blur |
| Glare does not cover essential text | Leaves inscriptions available for comparison |
| Original files are preserved | Allows uncertain details to be reconsidered |
| Unreadable areas are named in the note | Prevents a guess being treated as confirmed text |
Check what the image leaves out
- Full outline — the complete rim stays in frame
- Clipped rim — the border and edge detail are lost
- Soft focus — inscriptions stay unreadable
- Glare — reflection covers the lettering
Schematic framing examples; no real coins, fabricated inscriptions or grade judgments. Evidence: U.S. Mint: Anatomy of a Coin; Canadian Conservation Institute: Basic Care of Coins, Medals and Medallic Art, Note 9/4.
Use Coin Says Hi deliberately
Coin Says Hi accepts JPG, PNG and WebP. The browser resizes selected images to a maximum 1600-pixel edge and compresses them before an explicitly submitted request. A front photo is required; the reverse is optional, but providing both sides can give a provisional reading more visible evidence. These are this product’s current capabilities, verified against its repository on the review date.
Choosing a photo alone does not send it. The “Continue to analysis” action submits the selected photos and acknowledges the Terms of Use. Qomza retains submitted media and other complete nonsecret request and response diagnostics indefinitely in private operational storage; the Privacy page provides the full details.
A returned reading can suggest a possible match, describe visible clues, offer alternatives and recommend checks. It does not establish authenticity, formal grade, rarity or market value. Missing or blurred evidence should remain missing or uncertain in your own research too.
Choose coin photos when you are ready, or continue with the identification guide.
Questions people ask
Should I clean a coin before photographing it?
No cleaning is needed for this workflow. Improve the lighting and camera position. The Royal Canadian Mint advises beginners to avoid cleaning, and an unfamiliar surface should not be treated merely to improve a picture. Royal Canadian Mint: Coin Care
Is a reverse photo necessary?
Coin Says Hi allows a front-only submission, but photographs of both sides give you a fuller record for independent comparison. Some identification clues may be on the reverse or edge.
Should I use filters?
Preserve an unfiltered original. If you adjust a copy for readability, keep it clearly separate. A filter should not convert an uncertain inscription into asserted text.
What if the coin stays unreadable?
Document what is visible and what remains obscured. Try another non-destructive view or ask an appropriate specialist. A sharper-looking image does not guarantee a conclusive identification.
Sources and scope
Care claims are linked to the U.S. Mint and Royal Canadian Mint. The edge example concerns one U.S. program. Camera positioning, file organization and the pre-upload checklist are Coin Says Hi’s editorial method. Product behavior comes from the current README and image-processing code, and must be rechecked if implementation changes.